
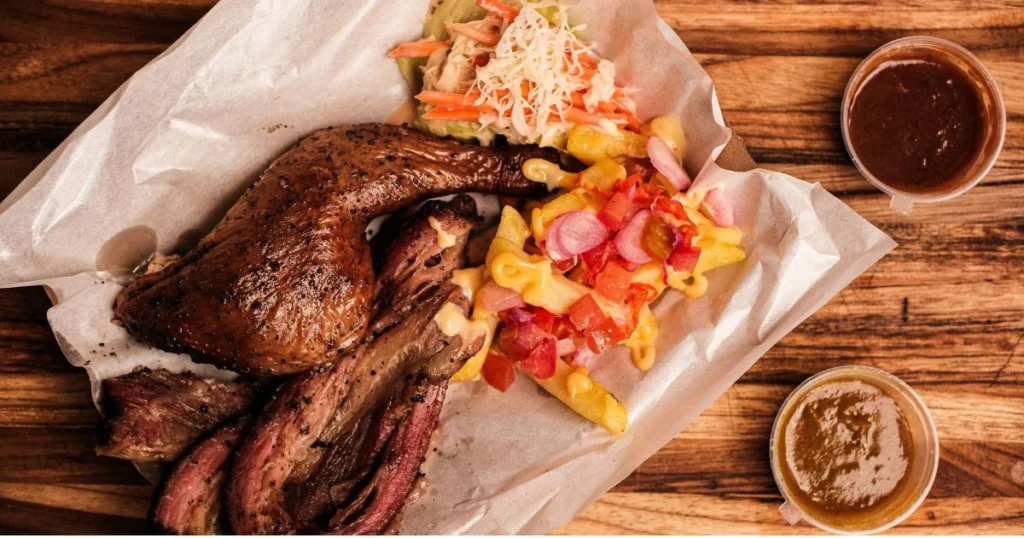
Table of Contents
There is something special about a beef Brisket Baked in the oven. As it cooks, your kitchen fills with the smell of garlic, onion, herbs, and rich beef. You do not need a smoker or complicated equipment to make that happen. With a few simple ingredients and some patience, you can turn a tough cut of beef into a tender, satisfying dinner.
If you are wondering how brisket baked in the oven can become tender and flavorful, the secret is simple: keep the temperature moderate, cook the meat slowly, and give it enough moisture. You also need to let the brisket rest before slicing it.
This easy oven-baked brisket recipe walks you through everything from seasoning the meat to checking for doneness and serving it with your favorite sides.
Why Does Oven-Brisket Baked Turn Out So Tender?
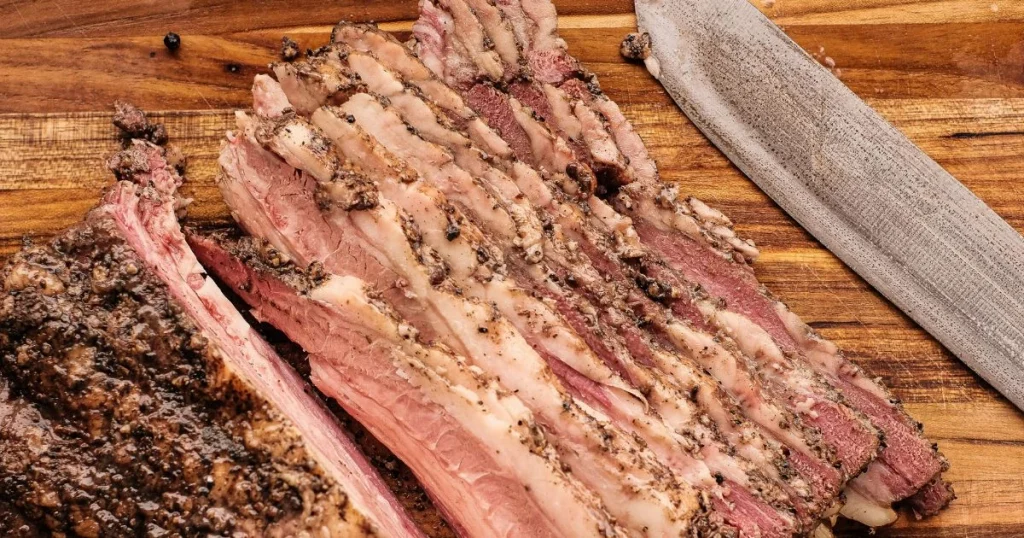
Brisket comes from a hardworking part of the cow, so it contains plenty of connective tissue. That is one reason it can seem tough if you cook it too quickly.
When you bake brisket slowly, the connective tissue has more time to soften. Keeping the meat covered with broth or cooking juices also creates a moist environment that helps prevent the exterior from drying out.
For your best result, focus on these four things:
- Use a flavorful seasoning blend.
- Cook the brisket at a moderate oven temperature.
- Cover the brisket for most of the cooking process.
- Rest the meat before you slice it.
The goal is not simply to reach a particular number on a thermometer. You want the brisket to become tender enough to slice comfortably while remaining juicy.
Ingredients for Classic Oven-Brisket Baked
You don’t need a long list of ingredients to make a flavorful brisket. The simple combination below creates a rich, savory dish that’s perfect for a comforting family dinner.
Brisket Ingredients
| Ingredient | Amount | Purpose |
|---|---|---|
| Beef brisket | 3–4 lb | Main protein |
| Olive oil | 1–2 tbsp | Helps seasoning stick |
| Kosher salt | 1–2 tsp | Enhances beef flavor |
| Black pepper | 1–2 tsp | Adds seasoning and mild heat |
| Garlic powder | 1 tsp | Adds savory flavor |
| Onion powder | 1 tsp | Builds flavor |
| Paprika | 1 tsp | Adds color and mild flavor |
| Beef broth | 1–2 cups | Keeps the cooking environment moist |
| Onion | 1 large | Adds sweetness and aroma |
| Garlic cloves | 3–4 | Adds depth |
| Worcestershire sauce | 1–2 tbsp | Adds savory richness |
Optional Ingredients
For a different flavor, you can also try adding:
- Fresh rosemary
- Fresh thyme
- Carrots
- Celery
- Brown sugar
- Your favorite BBQ sauce
- Smoked paprika
How to Prepare Brisket Baked Before Baking
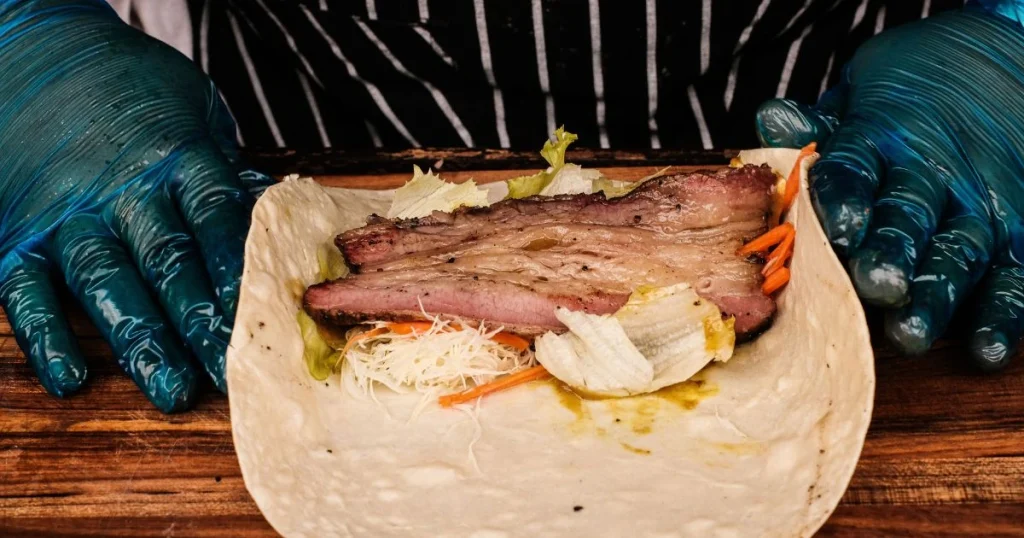
Good preparation makes the cooking process easier and helps your seasoning reach more of the meat.
Choose and Trim the Brisket
Look for a brisket with some visible marbling. You want enough fat to contribute flavor, but you do not need a very thick layer of excess fat.
Place the brisket on a clean cutting board and trim away any very thick or hard pieces of fat. Avoid stripping the meat completely. Some fat can help add flavor as the brisket cooks.
Season the Meat
Pat the brisket dry with paper towels. Rub a small amount of olive oil over the surface if desired.
Combine the salt, black pepper, garlic powder, onion powder, and paprika. Rub the mixture over all sides of the brisket.
If you have some extra time, season the brisket a few hours before you plan to cook it and store it in the refrigerator. This allows the flavors to soak into the meat and develop more deeply.
How to Bake Brisket in the Oven Step by Step
Now you are ready to turn your seasoned brisket into a classic homemade meal.
Step 1: Preheat Your Oven
Preheat your oven to 300°F (150°C).
This moderate temperature gives the brisket time to cook gradually rather than forcing the outside to cook much faster than the center.
Step 2: Prepare the Baking Dish
Spread sliced onion and garlic across the bottom of a large baking dish or roasting pan.
Add the beef broth and Worcestershire sauce to the baking dish.
Place your seasoned brisket into the dish. Depending on the shape of your cut and your preferred method, you can position the fat side facing upward.
Step 3: Cover the Brisket
Cover the baking dish tightly with aluminum foil or use a lid if your roasting pan has one.
This step is important. Keeping the brisket covered helps hold moisture inside the cooking environment while the meat slowly becomes tender.
Step 4: Bake the Brisket Slowly
Place the covered brisket in your preheated oven.
Approximate cooking times can look like this:
| Brisket Size | Oven Temperature | Approximate Time |
|---|---|---|
| 2 lb | 300°F | 2½–3½ hours |
| 3 lb | 300°F | 3½–4½ hours |
| 4 lb | 300°F | 4–5½ hours |
| 5 lb | 300°F | 5–6½ hours |
Treat these times as a starting point rather than a strict schedule. The thickness of your brisket, your oven, and the individual piece of meat can all
affect how long it takes.
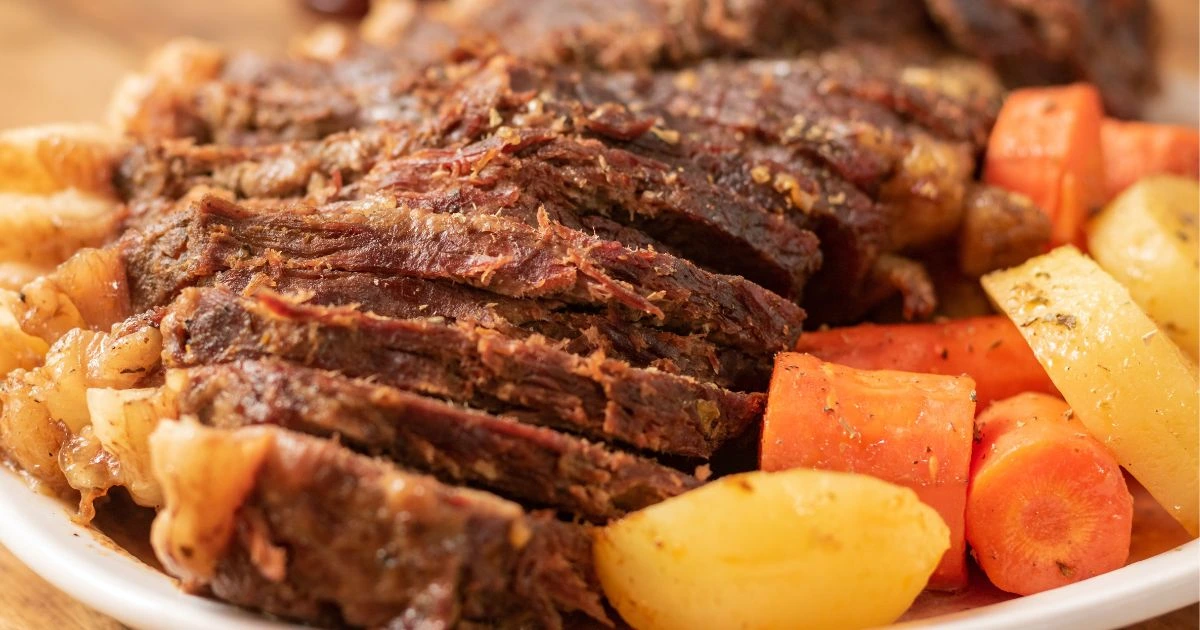
Step 5: Check for Doneness
Use a meat thermometer to check the thickest part of the brisket.
For food safety, follow USDA guidance for the appropriate minimum internal temperature for beef. For a cut such as brisket, however, reaching a safe temperature does not necessarily mean the meat has reached the tenderness you want.
You should also check the texture. A probe or fork should meet relatively little resistance when the brisket is properly tender.
Step 6: Brown the Exterior
Once the brisket is tender, carefully remove the foil.
If you want a darker exterior, return the uncovered brisket to the oven for a short finishing period. You can also brush it with BBQ sauce before this final step if you want a sweeter, barbecue-style crust.
Keep an eye on it so the sauce does not burn.
Step 7: Rest Before Slicing
Take the brisket out of the oven and let it rest for about 20–30 minutes.
It can be tempting to slice immediately, especially when the kitchen smells incredible. Try to wait. Resting gives the meat time to settle and makes it easier to slice neatly.
How Do You Know When Oven-Brisket Baked Is Done?
Cooking time alone cannot tell you everything about your brisket.
Use a Meat Thermometer
Insert the thermometer into the thickest section of the meat. Avoid touching the pan or large pockets of fat, as these can affect the reading.
Check the Texture
Your brisket should feel tender when you test it with a fork or thermometer probe.
If it is still very resistant, it may need more cooking time even if it has already been in the oven for the expected amount of time.
Do Not Depend Only on the Clock
A 4-pound brisket is not guaranteed to finish at exactly the same time as another 4-pound brisket. Thickness, fat distribution, oven accuracy, and starting temperature can all make a difference.
Should Brisket Baked Covered or Uncovered?
Both methods have a place, but they produce different results.
| Method | Main Result | Best Use |
|---|---|---|
| Covered | Helps retain moisture | Main cooking period |
| Uncovered | Encourages browning | Finishing the brisket |
| Covered then uncovered | Combines moisture and browning | Classic oven method |
For this recipe, keeping the brisket covered for most of the cooking period is a practical approach. You can uncover it toward the end when you want more color on the outside.
How to Slice Brisket Baked for the Best Texture
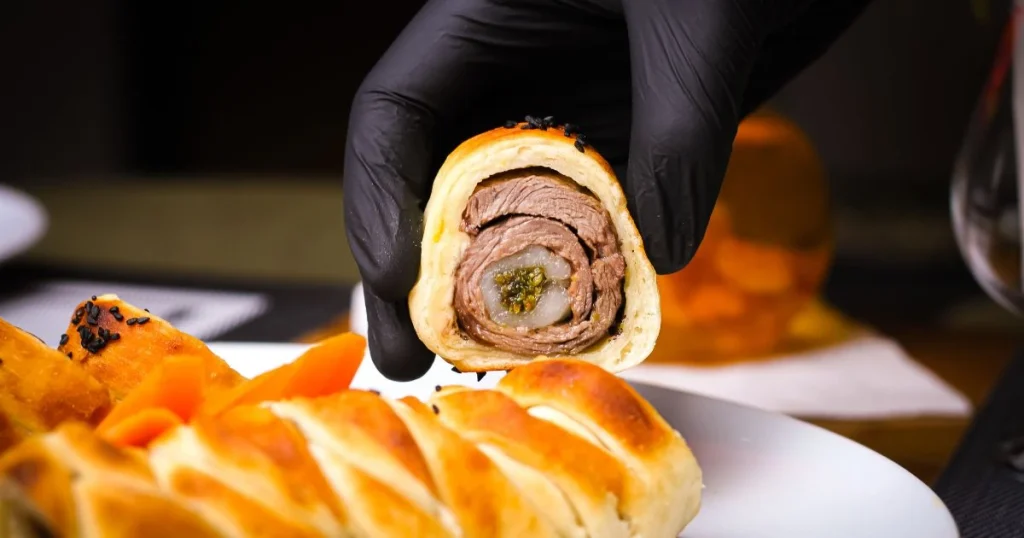
Once your brisket has rested, slicing becomes the final important step.
Find the Grain
Look closely at the surface of the meat and identify the direction in which the muscle fibers run.
Slice Against the Grain
Position your knife across those fibers rather than in the same direction.
Then:
- Use a sharp carving knife.
- Cut across the grain.
- Aim for reasonably thin slices.
- Keep the slices consistent when possible.
- Spoon some of the cooking juices over the meat before serving.
Slicing against the grain shortens the muscle fibers, which can make each bite easier to chew.
Classic Side Dishes for Baked Brisket
Your oven-baked brisket can become the centerpiece of a complete co

