
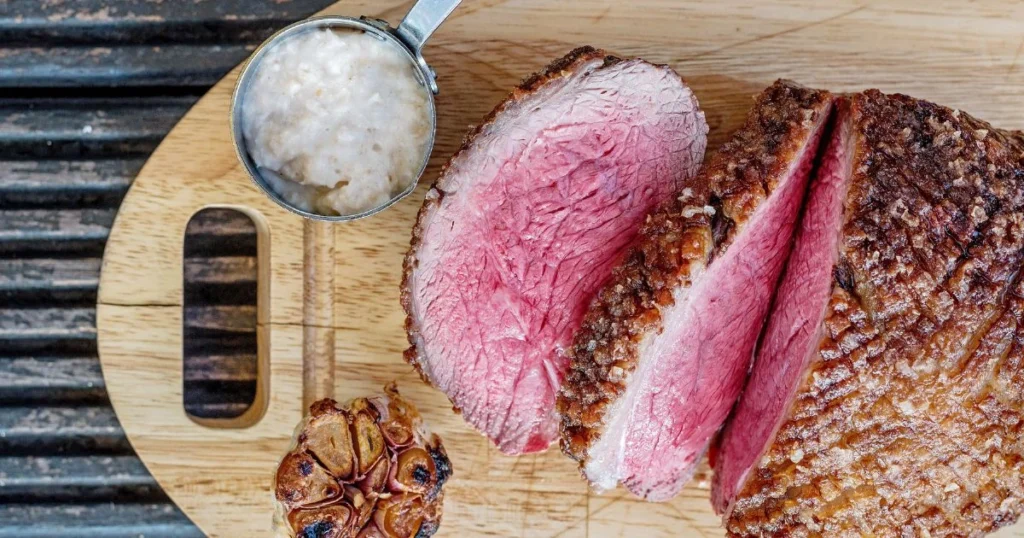
There’s something special about pulling a perfectly roasted piece of beef from the oven. The aroma fills your kitchen, the golden crust promises rich flavor, and the first slice reveals juicy, tender meat that everyone is eager to try. If you’ve ever cooked an eye of round roast and ended up with something dry or chewy, you’re not alone. This lean cut has a reputation for being difficult, but with the right approach, it can become one of the most delicious and budget-friendly meals you make.
The secret isn’t buying a more expensive cut—it’s learning the techniques that bring out the best in this one. From seasoning and cooking temperatures to slicing and serving, these eye of round roast recipes are designed to help you create roast beef that’s tender, flavorful, and worthy of any dinner table.
Whether you’re preparing a comforting Sunday meal, hosting holiday guests, or looking for protein-rich leftovers for the week, this guide gives you everything you need to cook with confidence.
What Is an Eye of Round Roast?
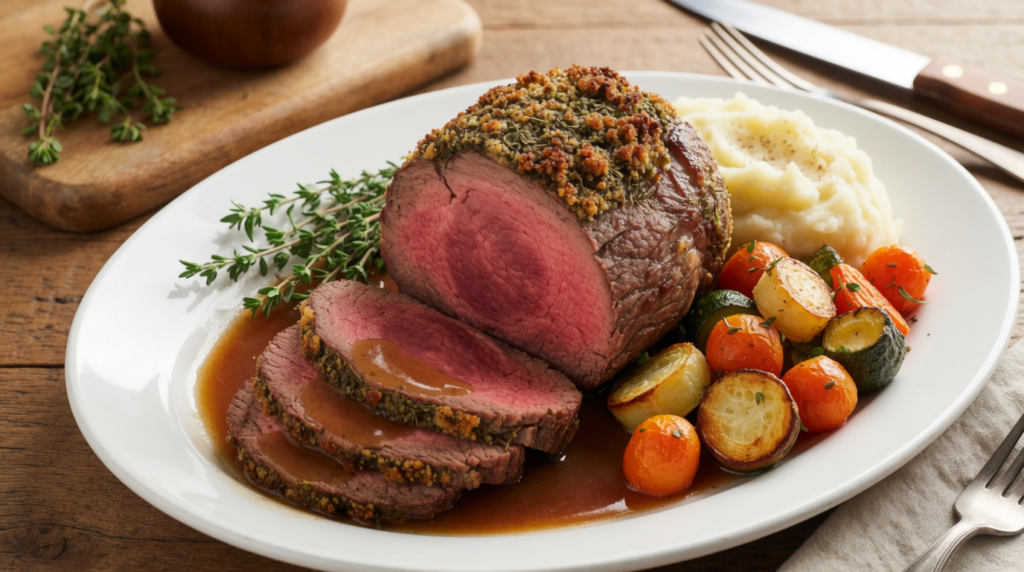
Eye of round roast comes from the rear leg of the cow, an area that gets plenty of exercise. Because these muscles work hard, the meat is naturally lean with very little marbling. While that means it contains less fat than premium cuts like ribeye, it also means you need to cook it carefully to avoid toughness.
The good news is that its mild beef flavor makes it incredibly versatile. With proper seasoning and cooking techniques, this economical cut transforms into a tender roast that’s perfect for family dinners, sandwiches, salads, and meal prep.
Why Is It So Popular?
You might be surprised how often professional kitchens use eye of round roast. Its affordability and versatility make it a favorite for preparing deli-style roast beef and thinly sliced sandwiches.
Some of the biggest advantages include:
- Budget-friendly compared to premium beef cuts
- Naturally lean and high in protein
- Easy to season with different herbs and spices
- Excellent for leftovers
- Ideal for meal planning and batch cooking
If you’re looking for maximum value without sacrificing flavor, this cut deserves a place on your shopping list.
Eye of Round Roast vs. Other Beef Roasts
Choosing the right roast can make a noticeable difference in both flavor and texture.
| Beef Cut | Texture | Fat Content | Best Cooking Method | Price |
|---|---|---|---|---|
| Eye of Round | Lean | Low | Slow roasting | $ |
| Top Round | Moderately tender | Low | Roasting, slicing | $$ |
| Bottom Round | Firm | Moderate | Braising, roasting | $$ |
| Chuck Roast | Very tender | High | Slow cooking | $$ |
| Ribeye Roast | Extremely tender | High | Roasting | $$$$ |
If you’re looking for an affordable roast with impressive results, eye of round offers excellent value when cooked properly.
Why You’ll Love These Eye of Round Roast Recipes
Many people skip this cut because they’ve heard it’s difficult to cook. In reality, it’s simply less forgiving than fattier roasts. Once you understand how to work with it, you’ll discover why so many home cooks keep coming back to it.
Budget-Friendly Without Compromising Quality
Food costs continue to rise, making affordable meals more important than ever. Eye of round roast typically costs significantly less than premium beef cuts while providing plenty of servings for a family.
Instead of spending extra on expensive roasts, you can use proven cooking methods to achieve delicious results at a fraction of the cost.
Packed with Protein
If you’re trying to eat more protein without increasing your fat intake, this roast fits perfectly into your meal plan.
A typical serving provides:
| Nutrient | Approximate Amount (3 oz) |
|---|---|
| Calories | 170 |
| Protein | 25 g |
| Total Fat | 7 g |
| Carbohydrates | 0 g |
| Iron | 10% DV |
| Zinc | 25% DV |
Its high protein content makes it an excellent choice for active lifestyles and balanced meals.
Perfect for Meal Prep
One roast can provide multiple meals throughout the week.
Ideas include:
- Roast beef sandwiches
- Steak salads
- Beef wraps
- Grain bowls
- Stir-fries
- Pasta dishes
- French dip sandwiches
Cooking once and enjoying several meals saves both time and money.
How to Choose the Best Eye of Round Roast
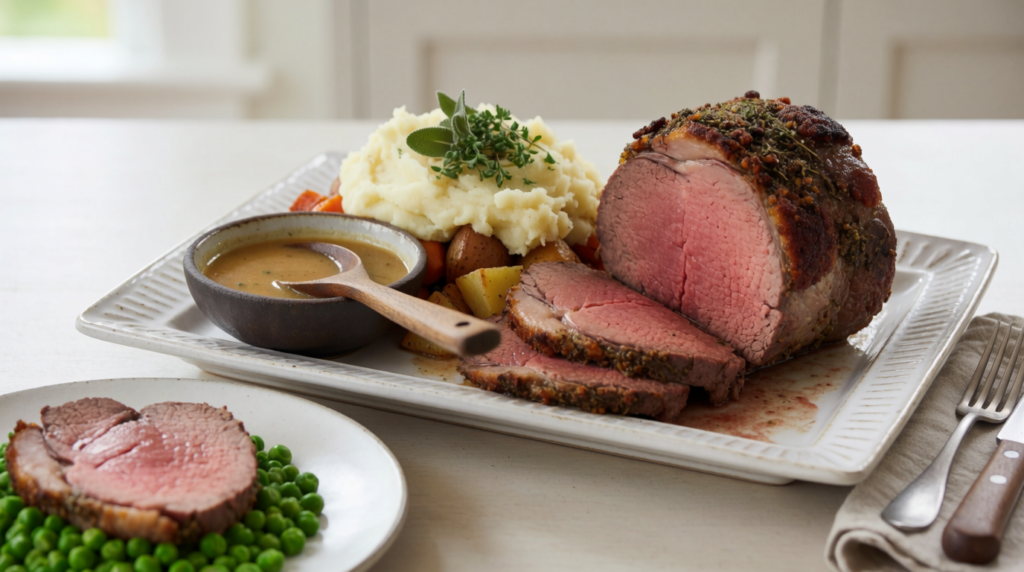
Starting with a quality roast gives you the best chance of success.
Look for Bright Color
Fresh beef should appear bright red with no gray or brown discoloration. While vacuum-sealed meat may look darker, it should return to a rich red color after exposure to air.
Choose an Even Shape
Roasts with a uniform thickness cook more evenly. Thin ends often overcook before the center reaches the desired temperature.
Check the Packaging
Avoid packages that contain excessive liquid or have damaged seals. The meat should feel firm and fresh.
Size Matters
Here are general serving recommendations:
| Roast Size | Servings |
|---|---|
| 2 pounds | 4–5 people |
| 3 pounds | 6–8 people |
| 4 pounds | 8–10 people |
| 5 pounds | 10–12 people |
Buying slightly larger than you need gives you delicious leftovers.
Fresh vs. Frozen Eye of Round Roast
Both fresh and frozen roasts can produce excellent results.
Fresh Roast
Pros
- Ready to season immediately
- Slightly better texture
- No thawing required
Cons
- Shorter shelf life
- May cost more during holidays
Frozen Roast
Pros
- Convenient for long-term storage
- Often available at lower prices
- Great to keep on hand
Cons
- Requires slow thawing
- Planning ahead is necessary
For the best texture, thaw frozen beef in the refrigerator for 24–48 hours before cooking.
Essential Ingredients for Classic Eye of Round Roast Recipes
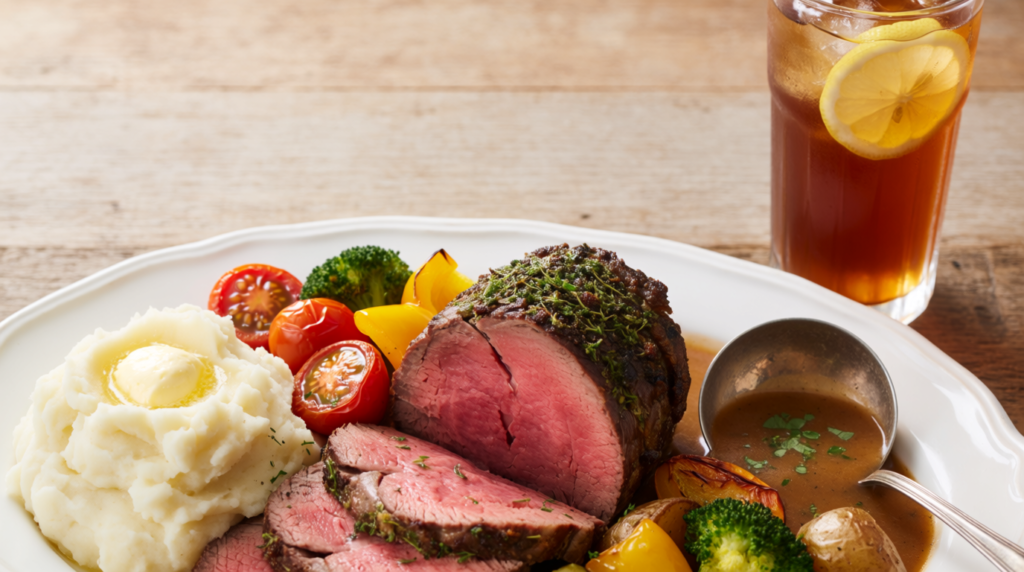
Simple ingredients often create the best flavor.
Main Ingredients
| Ingredient | Quantity | Purpose |
|---|---|---|
| Eye of Round Roast | 3–4 lbs | Main protein |
| Olive Oil | 2 tbsp | Helps seasoning adhere |
| Kosher Salt | 2 tsp | Enhances flavor |
| Black Pepper | 2 tsp | Adds mild heat |
| Garlic Powder | 2 tsp | Savory depth |
| Onion Powder | 1 tsp | Balances flavor |
| Fresh Rosemary | 1 tbsp | Herbal aroma |
| Fresh Thyme | 1 tbsp | Earthy notes |
| Butter | 2 tbsp | Rich finish |
Optional Flavor Boosters
If you’d like to customize your roast, consider adding:
- Dijon mustard
- Worcestershire sauce
- Smoked paprika
- Fresh minced garlic
- Cracked black pepper
- Beef broth
- Red wine
- Fresh parsley
These ingredients complement the natural flavor of beef without overpowering it.
Proven Techniques for Tender Eye of Round Roast Recipes
If you’ve ever wondered why one roast turns out juicy while another becomes dry and tough, the answer usually comes down to technique—not the cut itself. Because eye of round roast is naturally lean, every step matters. By following these proven methods, you’ll consistently produce tender, flavorful roast beef.
Bring the Roast to Room Temperature
One of the most overlooked steps is allowing the roast to sit at room temperature for 30–45 minutes before cooking.
Why does this matter?
- Promotes even cooking
- Reduces temperature shock
- Helps the center cook at the same rate as the outside
- Produces a more consistent texture
While the roast rests, pat it dry with paper towels. A dry surface helps develop a beautiful crust during searing.
Dry Brine for Maximum Flavor
Professional chefs often use dry brining instead of traditional marinades.
Simply season the roast generously with kosher salt and refrigerate it uncovered for 12–24 hours.
Benefits of Dry Brining
- Improves moisture retention
- Enhances natural beef flavor
- Creates a better crust
- Helps tenderize the meat
After dry brining, let the roast come to room temperature before adding the remaining seasonings.
Season Generously
Eye of round roast has a mild flavor, making it the perfect canvas for herbs and spices.
A classic seasoning blend includes:
- Kosher salt
- Fresh cracked black pepper
- Garlic powder
- Onion powder
- Rosemary
- Thyme
- Smoked paprika (optional)
Massage the seasoning evenly over every side of the roast.
Sear Before Roasting
A quick sear creates a rich, flavorful crust through the Maillard reaction.
How to Sear
- Heat a heavy skillet until very hot.
- Add a tablespoon of oil with a high smoke point.
- Sear each side for 2–3 minutes.
- Don’t forget the ends.
The goal isn’t to cook the roast through—just to develop color and flavor.
Cook Low and Slow
High heat causes lean meat to tighten and lose moisture.
Instead, roast at 225–250°F (107–121°C) for the most tender results.
Low-temperature roasting:
- Preserves moisture
- Produces even doneness
- Prevents dry edges
- Makes slicing easier
Patience pays off with this cut.
Use a Meat Thermometer
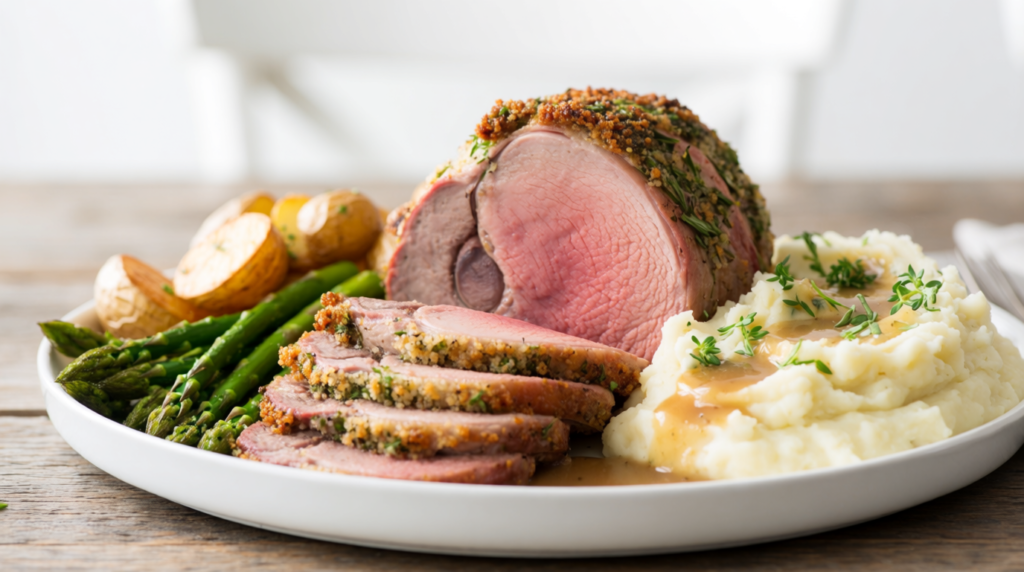
Guessing is the quickest way to overcook your roast.
Insert an instant-read thermometer into the thickest part of the meat.
Internal Temperature Guide
| Doneness | Remove from Oven | Final Temperature After Resting |
|---|---|---|
| Rare | 120°F | 125°F |
| Medium Rare | 125°F | 130–135°F |
| Medium | 135°F | 140–145°F |
| Medium Well | 145°F | 150°F |
| Well Done | 155°F | 160°F+ |
For the most tender slices, aim for medium rare.
Let the Roast Rest
This step is just as important as cooking.
Cover the roast loosely with foil and let it rest for 15–20 minutes.
During this time:
- Juices redistribute
- Meat fibers relax
- Slices stay moist
- Flavor improves
Cutting too early allows the juices to run onto the cutting board instead of staying inside the meat.
Slice Against the Grain
Look closely at the meat and identify the direction of the muscle fibers.
Always slice across those fibers—not parallel to them.
Thin slices shorten the muscle fibers, making every bite noticeably more tender.
Using a sharp carving knife makes carving easier and more precise.
Classic Garlic Herb Eye of Round Roast Recipe
This timeless recipe highlights the natural flavor of beef with a blend of herbs, garlic, and butter.
Ingredients
| Ingredient | Amount |
|---|---|
| Eye of Round Roast | 3 pounds |
| Olive Oil | 2 tablespoons |
| Butter | 2 tablespoons |
| Garlic, minced | 5 cloves |
| Kosher Salt | 2 teaspoons |
| Black Pepper | 2 teaspoons |
| Rosemary | 1 tablespoon |
| Thyme | 1 tablespoon |
| Onion Powder | 1 teaspoon |
Instructions
Step 1: Prepare the Roast
Pat the roast dry and rub it with olive oil.
Mix all the seasonings together and coat every side evenly.
If time allows, refrigerate overnight for deeper flavor.
Step 2: Sear
Heat a cast-iron skillet over medium-high heat.
Cook each side for 2–3 minutes until a deep golden-brown crust forms.
Step 3: Roast
Preheat your oven to 250°F.
Place the roast on a wire rack inside a roasting pan.
Cook until the internal temperature reaches 125°F for medium rare.
Approximate cooking times:
| Roast Weight | Time |
|---|---|
| 2 lbs | 60–70 minutes |
| 3 lbs | 75–90 minutes |
| 4 lbs | 95–110 minutes |
Always rely on the thermometer rather than the clock.
Step 4: Rest
Remove the roast from the oven.
Top with butter and allow it to melt naturally.
Cover loosely with foil and rest for 20 minutes.
Step 5: Slice and Serve
Slice the roast as thinly as possible against the grain.
Serve with mashed potatoes, roasted vegetables, or horseradish sauce.
Why This Recipe Works
This recipe succeeds because it combines several proven techniques:
- Dry seasoning
- Proper searing
- Low-temperature roasting
- Resting before slicing
- Thin carving
Together, they create an incredibly juicy roast despite its lean profile.
Slow Cooker Eye of Round Roast Recipe
If you prefer a hands-off approach, your slow cooker can produce wonderfully tender beef.
This method is especially useful for busy weekdays.
Ingredients
| Ingredient | Amount |
|---|---|
| Eye of Round Roast | 3 pounds |
| Beef Broth | 2 cups |
| Onion | 1 large, sliced |
| Garlic | 4 cloves |
| Worcestershire Sauce | 2 tablespoons |
| Carrots | 4 |
| Celery | 2 stalks |
| Potatoes | 5 medium |
| Salt | 2 teaspoons |
| Pepper | 2 teaspoons |
Instructions
Step 1
Season the roast with salt and pepper.
For even more flavor, sear it in a skillet before transferring it to the slow cooker.
Step 2
Arrange the onions, carrots, celery, and potatoes on the bottom of the slow cooker.
Place the roast on top.
Step 3
Add the beef broth and Worcestershire sauce to the pan.
Add garlic around the roast.
Step 4
Cook on:
- Low: 8–10 hours
- High: 5–6 hours
Avoid lifting the lid frequently, as each peek releases heat and extends the cooking time.
Step 5
Transfer the roast to a cutting board and let it rest for 15 minutes before slicing.
Serve with the vegetables and spoon some of the flavorful cooking liquid over each portion.
Best Sauce Ideas
Take your roast to the next level with one of these simple sauces:
- Creamy horseradish sauce
- Red wine reduction
- Garlic butter
- Mushroom gravy
- Au jus
- Dijon cream sauce
A great sauce adds moisture and complements the rich beef flavor without overpowering it.

